Prime Plumbing & Gasfitting

Complete Wood Fireplace Maintenance Guide for Melbourne Homes — Cleaning, Safety, Efficiency

5 Easy Steps to Start and Maintain a Wood Fireplace Like a Pro

Complete Wood Fireplace Maintenance Guide for Melbourne Homes — Cleaning, Safety, Efficiency — a Prime Plumbing & Gasfitting plain-English guide to wood fireplace maintenance melbourne for Melbourne homeowners. Below we cover what works, what doesn't, and when to call a licensed plumber.

Quick answer: A wood fireplace needs annual professional inspection (best done in autumn before winter use) plus monthly homeowner maintenance during burn season. The big four risks: creosote build-up in the flue (causes chimney fires), carbon monoxide (silent and deadly — install a CO alarm in the same room), wet or wrong wood (causes most efficiency problems), and damaged hearth or seals (lets sparks and CO escape into the home). Light fires using the top-down method for cleaner ignition. Burn only seasoned hardwood for clean, hot, efficient combustion. Keep the fire bright and clean-burning — heavy smoke means efficiency problems and creosote build-up. Annual flue cleaning is non-negotiable for any household using the fire 2+ times a week through winter.

Why fireplace maintenance matters

A working wood fireplace is one of the most pleasurable things a Melbourne home can have — radiant heat, ambient light, the genuine smell and sound of fire. Done well, it delivers all of that for decades.

Done badly, it kills people. Carbon monoxide poisoning, chimney fires, and house fires from sparks or radiant heat damage are all real, all preventable, and all caused by the same handful of mistakes. This guide covers the maintenance routine that keeps you in the first category, not the second.

We'll walk through:

  1. The annual maintenance routine
  2. Cleaning your fireplace and flue
  3. Carbon monoxide — detection and prevention
  4. Lighting fires for clean, efficient burning
  5. Identifying and fixing efficiency problems
  6. When to call a professional

If you're new to wood fireplaces, read end-to-end. If you've been using one for years, scroll to the section relevant to whatever's bothering you — the FAQ at the bottom is also a good place to start for specific symptoms.

Annual maintenance routine

Best done in late February or early March — after the burn season ends and well before next winter. The goal is to start each winter with a clean, inspected, ready-to-burn system.

What a homeowner can do

  • Empty all ash — once cool, scoop out the firebox completely. Ash is mildly corrosive when damp, so don't leave it sitting on iron or steel components.
  • Vacuum the firebox — use a metal-bodied ash vacuum (not a regular household vacuum — fine ash will damage motor bearings and create static spark hazard).
  • Inspect the firebox lining — check refractory bricks, baffle plate, and any vermiculite panels. Cracks, missing pieces, or significant damage need professional repair.
  • Inspect the door seal/gasket — close the door on a piece of paper. If you can pull the paper out easily, the seal is failing and needs replacement (a $30-$80 part, easy DIY on most heaters).
  • Clean the glass — a damp cloth with wood ash works as a gentle abrasive. For stubborn deposits, glass cleaner specifically formulated for wood heaters.
  • Inspect the hearth — cracks in the hearth pad or surrounding tiles need patching before next use. The hearth is a heat-and-spark barrier; gaps compromise it.
  • Check chimney exterior — visible cracks, missing mortar, or animals nesting in the cap are common. Significant cracks need a brick mason; nests need clearing before flue is used.

What a professional should do (annually)

  • Sweep the flue — remove creosote build-up using a chimney sweep brush sized for your flue. This is the single most important maintenance task and the one most likely to be neglected.
  • Inspect the flue lining — look for cracks, gaps in mortar, or thermal damage. A camera inspection of the full flue length is best.
  • Test the cap and spark arrester — confirm it's intact and not blocked by debris.
  • Inspect the appliance for heat damage — warping, cracks, or fatigue in the firebox steel.
  • Confirm draft — the fireplace should pull air upward through the flue, not back into the room. A smoke pencil or match test confirms.
  • Service or replace the door gasket if homeowner inspection found it failing.
  • Check carbon monoxide alarm operation — replace battery, test alarm.

A combined annual sweep + inspection in Melbourne typically costs $250-$500 depending on chimney height and access. Less than the cost of a single emergency room visit for CO poisoning, never mind a chimney fire.

Cleaning your fireplace — frequency and method

How often to clean

  • Ash from firebox: weekly during burn season (don't let it build up over 5cm; it impedes airflow)
  • Glass door: every few uses or when visibility drops noticeably
  • Hearth and surround: weekly wipe-down for ash dust
  • Flue (chimney): annually, BEFORE the burn season starts. More frequently if you burn more than 1m³ of wood per month, or if you've been burning sub-optimal wood (softwood, wet wood)

The flue cleaning frequency rule: every cord of wood (~3.6m³) burned deposits creosote. After about 0.6cm of creosote build-up, the risk of a flue fire rises sharply. Annual cleaning prevents accumulation reaching that threshold for typical residential use.

Creosote — the real reason for flue cleaning

Creosote is a tar-like residue from incomplete wood combustion. It forms when:

  • Wood is damp / unseasoned
  • Fire is starved of oxygen ("smouldering" damp-down)
  • Flue is too cool (insulation issue or short flue)
  • Burning sub-optimal woods (softwoods, treated wood)

Creosote stages:

  • Stage 1: light, flaky, soot-like. Easy to brush off. Removed by routine sweeping.
  • Stage 2: tar-like, sticky. Harder to remove; may require chemical treatments.
  • Stage 3: glassy, hardened. Effectively bonded to the flue. Requires aggressive mechanical removal or flue replacement.

Stage 3 creosote is the fuel for chimney fires. By the time you reach stage 3 you've ignored multiple seasons of routine cleaning. Don't get there.

Disposing of ash safely

Ash from a recently-burned fire stays hot inside for up to 72 hours even when the fire is out. The most common cause of garage and shed fires in Melbourne is hot ash dumped into a metal bin too soon.

Rules:

  • Use a dedicated metal ash bucket with a tight lid
  • Wait 72 hours before transferring to general waste
  • Never empty into cardboard, plastic, or compost — even apparently-cold ash can re-ignite
  • Wood ash is good for the garden in moderation — sprinkle on lawns or compost in thin layers (not heavily on acid-loving plants like azaleas or blueberries)
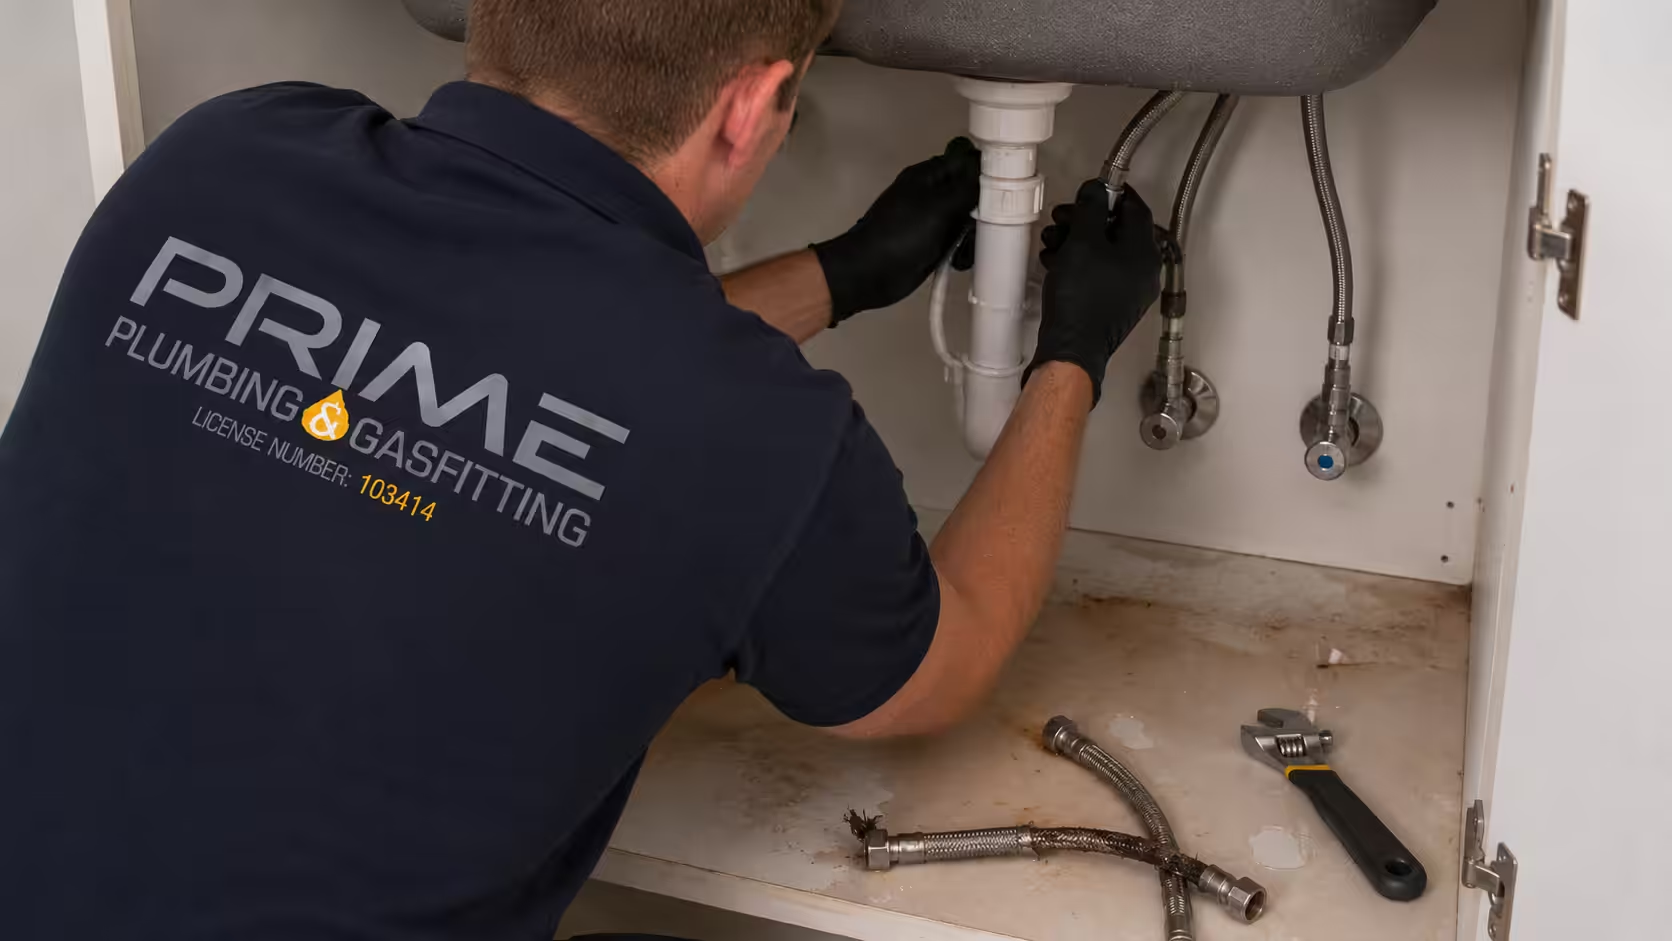
Australian licensed plumber illustrating "cleaning your fireplace — frequency and method" within Complete Wood Fireplace Maintenance Guide for Melbourne Homes — Cleaning, Safety, Efficiency at a Melbourne home — Prime Plumbing & Gasfitting

Carbon monoxide — the silent risk

Wood fireplaces produce carbon monoxide as part of normal combustion. A properly-installed and well-maintained fireplace vents 100% of CO out the flue. A poorly-maintained or wrongly-operated fireplace lets CO into the home, where it can build up to lethal levels without any visible sign.

What CO does

CO binds to haemoglobin in your blood ~250× more strongly than oxygen. Even at low concentrations it makes you feel ill (headache, nausea, dizziness, confusion). At higher concentrations it causes loss of consciousness and death. Most CO deaths happen during sleep.

CO has no smell, taste, or colour. The only reliable detection is a battery-operated CO alarm.

Sources of CO from a wood fireplace

  • Back-draughting — when the flue isn't drawing properly, CO comes back into the room instead of going up. Caused by cold flue, blocked cap, competing exhaust fans (range hood, bathroom fan), or wind conditions.
  • Smouldering damp-down — closing the air supply on a fire to make it last overnight produces incomplete combustion and high CO output. If your flue isn't pulling well, this CO can leak.
  • Damaged flue or seals — cracks in the flue, deteriorated firebox seals, loose connections at the appliance can leak CO.
  • Burning the wrong materials — treated wood, plastic, painted wood, etc. dramatically increase CO production.

CO alarms — non-negotiable

  • Install at least one CO alarm in the same room as the fireplace. Mid-wall height (1.5m off the floor — CO disperses evenly, so high or low doesn't matter much).
  • Battery-powered or mains-with-battery-backup — not mains-only (a power cut during winter is when CO risk peaks).
  • Test monthly — press the test button.
  • Replace every 5-7 years — CO sensors degrade. Most alarms have a "replace by" date stamped on them.

A combined smoke + CO alarm is fine; just confirm both functions work. Cost: $40-$100 for a good unit. Not optional for any home with a wood fireplace.

Symptoms — know the signs

If anyone in the household reports any of these during fireplace use, treat it as suspected CO poisoning:

  • Headache (most common early sign)
  • Dizziness, nausea, vomiting
  • Confusion, difficulty thinking clearly
  • Drowsiness or weakness
  • Multiple people in the same room with the same symptoms simultaneously

If suspected: stop the fire, ventilate the home (open all windows), get everyone outside, call 000. Don't try to "wait it out" — CO clears from blood slowly.

Service area

Prime Plumbing & Gasfitting services and inspects wood fireplaces across Melbourne's eastern, south-eastern, inner-east, and bayside suburbs. See all suburbs we service →

Book a fireplace inspection or annual sweep

Call 0475 407 670 or send through the contact form. Tell us how often you use the fire, last sweep date, and any issues you've noticed — we'll quote based on actual scope rather than a flat rate.

  • BPC #103414 — Plumbing Industry Commission licensed
  • Type A Gasfitter — registered with Energy Safe Victoria
  • Master Plumbers Association — member
  • 4.8 stars on Google
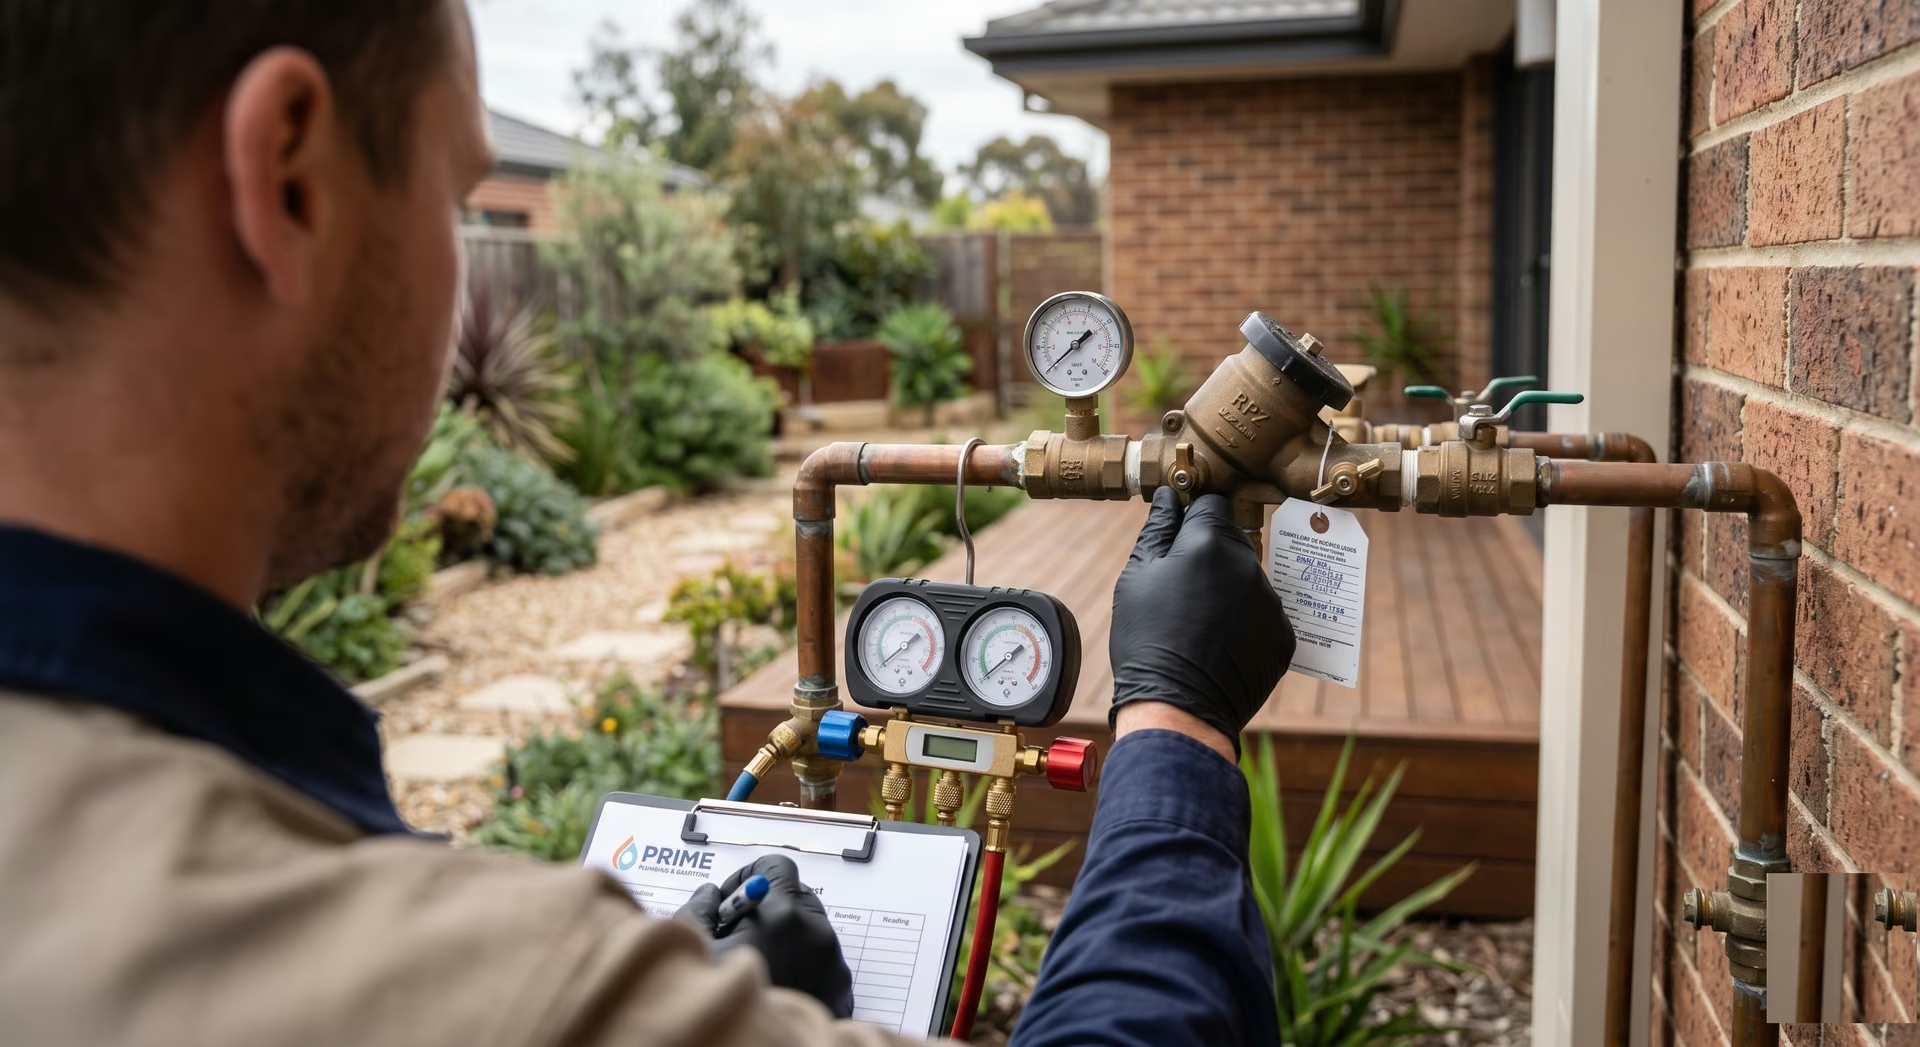
Australian licensed plumber illustrating "carbon monoxide — the silent risk" within Complete Wood Fireplace Maintenance Guide for Melbourne Homes — Cleaning, Safety, Efficiency at a Melbourne home — Prime Plumbing & Gasfitting

Lighting fires — the top-down method

The classic "build a teepee of kindling and light from below" approach produces a lot of smoke during the first 10-15 minutes of burning. The top-down method flips this and produces a much cleaner ignition with less smoke and faster heat-up.

Top-down method, step by step

  1. Largest logs on the bottom. Two or three pieces of seasoned hardwood, laid parallel, with small gaps between them.
  2. Medium-sized split wood across them. Perpendicular to the bottom layer, with airflow gaps.
  3. Smaller kindling next. Pencil-thick to thumb-thick pieces, criss-crossed.
  4. Tinder on top. Newspaper twists, fine kindling, or natural fire starters (wax-impregnated wood wool is ideal). Plain newsprint is fine; glossy paper / wrapping paper is not (toxic ink).
  5. Light the tinder at the top. The fire burns downward, drawing air through the structure rather than choking it.

This method:

  • Produces ~70% less smoke during ignition vs bottom-up
  • Pre-heats the flue while the main fuel is still safe
  • Reaches efficient burning temperature ~5 minutes faster
  • Self-feeds — you typically don't need to add wood for 30-60 minutes

Once the bottom logs are burning steadily and the fire is established, you can adjust airflow to maintain. Avoid closing the air right down — that's the smouldering damp-down that produces creosote and CO.

Common lighting mistakes

  • Using softwood as bulk fuel — burns too fast, deposits creosote. Use only as kindling.
  • Damp wood — smokes, hisses, refuses to ignite cleanly. Top-down won't fix wet wood; the wood needs to be properly seasoned.
  • Choking off air supply too soon — wait until the fire is well established (active flames, charcoal forming) before reducing air. Reducing too early leads to smouldering.
  • Overstuffing — packing the firebox tight prevents airflow. A fire needs at least 30% empty space for combustion air.
  • Stuffing in newspaper — small amounts of plain newsprint are fine as tinder; bundles of paper produce flash fires that do nothing useful and may damage flue paint.
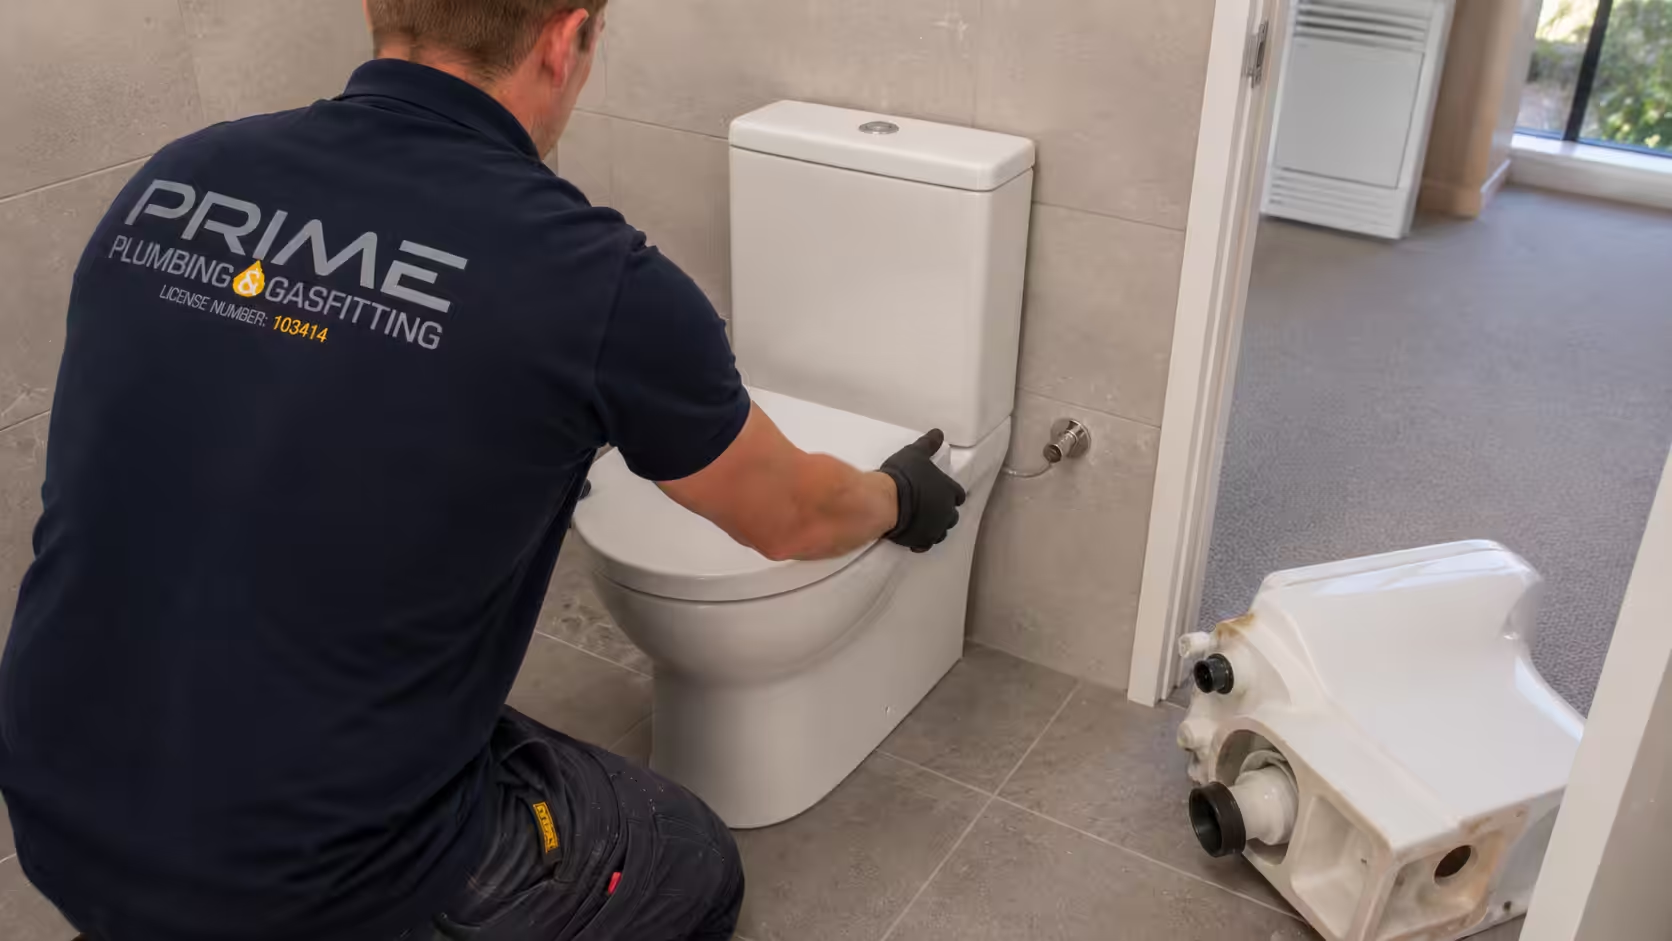
Australian licensed plumber illustrating "lighting fires — the top-down method" within Complete Wood Fireplace Maintenance Guide for Melbourne Homes — Cleaning, Safety, Efficiency at a Melbourne home — Prime Plumbing & Gasfitting

Burning efficiently — minimising smoke and emissions

Australian licensed plumber illustrating "burning efficiently — minimising smoke and emissions" within Complete Wood Fireplace Maintenance Guide for Melbourne Homes — Cleaning, Safety, Efficiency at a Melbourne home — Prime Plumbing & Gasfitting

A wood fire that's burning correctly:

  • Burns with active visible flames, not just smoulder
  • Produces light, mostly clear exhaust from the flue (some white = water vapour is fine)
  • Heats the room quickly once established
  • Uses less wood for the same heat output
  • Builds far less creosote in the flue

A wood fire that's burning poorly:

  • Heavy smoke from the flue (visible from outside)
  • Glass goes black quickly — soot deposits within an hour
  • Logs hiss or bubble — wet wood
  • Slow heat-up of the room
  • Burns through wood quickly with little heat output

Causes of inefficient burning

SymptomLikely causeFix
Heavy smoke, slow heat-upWet wood (most common)Switch to seasoned hardwood. Stack damp wood for next year.
Glass blackens fastAir starvation or wet woodOpen primary air control fully, check wood moisture
Smoke comes back into roomFlue draught issue / back-draughtingCheck flue is open, kitchen exhaust fan is off, flue cap is clear
Fire dies down repeatedlyDamp wood OR closing air too soonWait for active flames before damping; check moisture
Heater warps or discoloursOverheating from softwood / treated woodStop burning unsuitable fuel; inspect for damage
Wood burns very quicklyToo much air OR softwoodClose primary air partially once established; switch to hardwood

The clean-burn principle

A wood fire ideally burns at 300-500°C internal flue temperature. Below ~150°C, water and creosote condense out. Above ~600°C, you risk damage to flue and appliance.

A flue thermometer ($30-$50 magnetic stove-top thermometer) lets you check this directly. Modern EPA-rated wood heaters often have a temperature range marked on the unit's air control.

When your fire is burning in the right zone, you'll see:

  • Bright, active flames
  • Light or no visible smoke from outside
  • Steady heat output
  • Slowly forming charcoal bed

That's an efficient fire. Anything significantly different points to one of the issues in the table above.

When to call a licensed plumber or fireplace specialist

Annual professional inspection is the baseline. Beyond that, call earlier if you notice:

  • Visible damage to the flue (cracks, missing mortar, leaks)
  • Heat damage to walls or surrounding structure (suggests undersized clearances)
  • Persistent back-draughting that homeowner-level fixes don't resolve
  • Suspected CO event (stop using, get inspection before relighting)
  • Considering switching to gas — gas requires a Type A Gasfitter
  • First-time use of an inherited / older fireplace (don't light without inspection)
  • Buying a property with an existing fireplace (pre-purchase inspection)

The Victorian Building Authority maintains a licence search so you can verify any installer or inspector. For gas-side work, Energy Safe Victoria is the authority.

Frequently asked questions

Annually as a baseline, before the burn season. More frequently — every 6 months — if you burn more than 1m³ of wood per month, or if you've burned sub-optimal wood (softwood, wet wood, etc.). The 6mm creosote rule: sweep before deposits exceed 6mm thickness.

Yes. CO doesn't care about frequency. A single back-draught event during occasional use can be lethal. Cost is $40-$100 for an alarm; cost of a CO event is incalculable.

Usually one of three things: (1) damp creosote in the flue is volatile in summer humidity (sweep needed), (2) flue cap is missing or damaged so air is back-flowing, (3) flue lining is cracked. Get an inspection — all three are fixable but only after diagnosis.

We'd recommend against it. One season's normal use produces enough creosote to start a chimney fire under bad conditions. The cost of a sweep is much less than the cost of a chimney fire. If you must burn before getting it swept, only use small fires and check the flue interior with a flashlight before lighting.

An EPA-rated wood heater is a sealed appliance — you control combustion via the door and air controls. Open fireplaces are essentially an open hearth in a flue. Heaters are far more efficient (3-5× more heat per kg of wood) and produce less creosote. Maintenance principles are the same; an open fireplace tolerates poor practice slightly better but uses more wood.

No. Wood ash is finer than dust, abrasive, and may contain hot embers even days after a fire. Standard vacuums leak fine ash through the filter, damage the motor with abrasion, and can ignite live embers in the bag. Use a dedicated ash vacuum — they're $50-$150 and necessary equipment.

The wood is too wet. Properly seasoned wood under 20% moisture content burns silently. Hissing is steam from internal moisture. The wood will burn but inefficiently and with high creosote production. Stack it to dry for another 6-12 months; in the meantime, mix wet wood with very dry wood to keep the fire hot.

Significantly. Hardwoods (red gum, ironbark, yellow box) produce far less creosote than softwoods (pine, cypress) at the same moisture content. Wet wood of any species produces more creosote than dry wood. Treated wood produces dangerous chemical residues plus heavy creosote and should never be burned. See our firewood guide for full details.

Before You Book

A quick checklist to share with your plumber when you book:

  • When did the issue start?
  • Is it isolated to one fixture or multiple areas?
  • Are there any visible leaks, smells or unusual sounds?
  • Have you turned off the relevant isolation valve?
Alister Williams, founder of Prime Plumbing & Gasfitting
Please enable JavaScript in your browser to complete this form.
Click or drag files to this area to upload. You can upload up to 20 files.
You can upload files like: JPG, JPEG, PNG, HEIC.

Related blogs

Prime Plumbing & Gasfitting
Prime Plumbing & Gasfitting, Melbourne’s trusted name in professional plumbing and gas services. I’m Alister Williams, a licensed plumber with over ten years of industry experience, proudly serving homes and businesses across Melbourne.

Support

  • Melbourne
  • admin@primeplumb.com.au
  • 0475 407 670
Copyright © 2025 Prime Plumbing & Gasfitting. all rights reserved.
BPC Licence No. 103414  ·  ABN 12 721 359 467  ·  Fully Insured  ·  Serving Melbourne since 2014