Solar Hot Water Problems: Booster Faults, Pump and Controller, Overheating and Frost
Booster not heating, a pump that won't run or a frost valve dripping at night? What common solar hot water…
Most wood heater flue rules come down to three things: the flue has to finish high enough above the roof to draw properly, the heater and flue have to sit far enough from anything that can burn, and the whole job has to be done and certified by someone licensed for it. Below is what those rules actually say in Victoria, where the numbers come from, what you can check yourself, and what the signs mean if an existing heater isn't right.
Quick answer: In Victoria, installing a wood heater is regulated plumbing work in the mechanical services class, and the install has to comply with AS/NZS 2918 and the heater maker's installation instructions. The flue has to finish well clear of the roof, and the Building and Plumbing Commission's practice note sets minimum heights for it, measured from the floor protector and from any part of the roof close by. Clearances to walls and furniture come from the heater's own tested figures, so they are in the manual. An existing chimney has to be checked and cleaned before a flue goes into it. You should get a compliance certificate from the licensed plumber when the job is finished.
Smoke coming back into the room, or scorch marks near the heater or flue? Stop using it and call 0475 407 670. Mon-Fri 7-5, Sat 8-1. Check we cover your area on the service area page.
A lot of the confusion about wood heater flue rules online comes from people quoting different documents. Four documents set the installer's rules, and two more get quoted online.
The National Construction Code (NCC) also has a section on heating appliances, fireplaces, chimneys and flues (Housing Provisions Part 12.4). It gives its own deemed-to-satisfy figures. The NCC lets a solid fuel heater be installed to AS/NZS 2918 instead, which is the standard the plumbing practice note points installers to anyway. So when you see a figure that doesn't match what your installer tells you, check which document it came from.
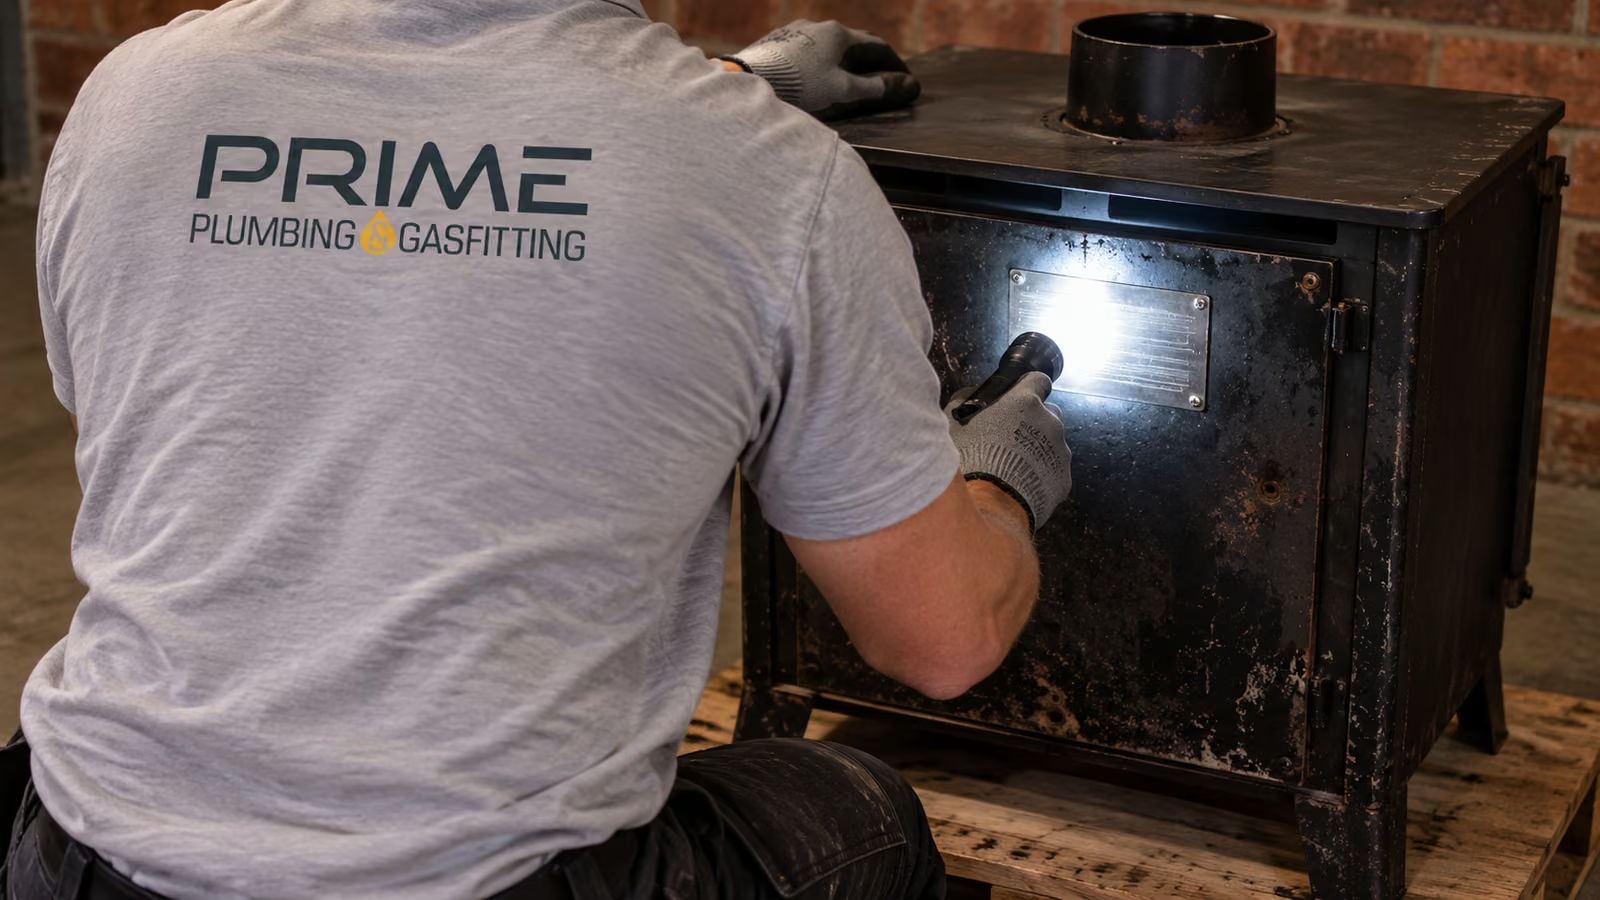
The heater itself has rules too. Under the Environment Protection Regulations 2021, a solid fuel heater can't be made or supplied in Victoria unless it complies with the emissions and efficiency standards (AS/NZS 4013 and AS/NZS 4012). A compliant heater carries a conformance plate showing that, often on the back.
Flue height is behind a lot of smoke problems, so it's the first of the wood heater flue rules to check. A flue that finishes too low sits in the swirl of air coming over the roof. On some days the wind pushes the smoke back down instead of letting it rise. The practice note calls this a downdraught, says the smoke that comes back in can carry carbon monoxide, and says a downdraught must always be corrected. Have a working carbon monoxide alarm in the room with the heater. The practice note also says a solid fuel heater should be checked for carbon monoxide spilling into the house.
The guide figure in MS 01, reproduced from AS/NZS 2918, sets out these minimums:
Those are minimums. The heater's instructions can ask for more, and the practice note says plumbers should consider manufacturers' specifications that set clearances for fire safety reasons, such as embers coming out of the flue.
You'll also see an NCC figure quoted: 300 mm above any part of the building within 3.6 m. That's the building code's own deemed-to-satisfy rule for chimneys and flues. In Victoria the plumbing practice note points installers to AS/NZS 2918, so the figures above are the ones to check against. Two documents with two sets of numbers is one reason people end up arguing over them.
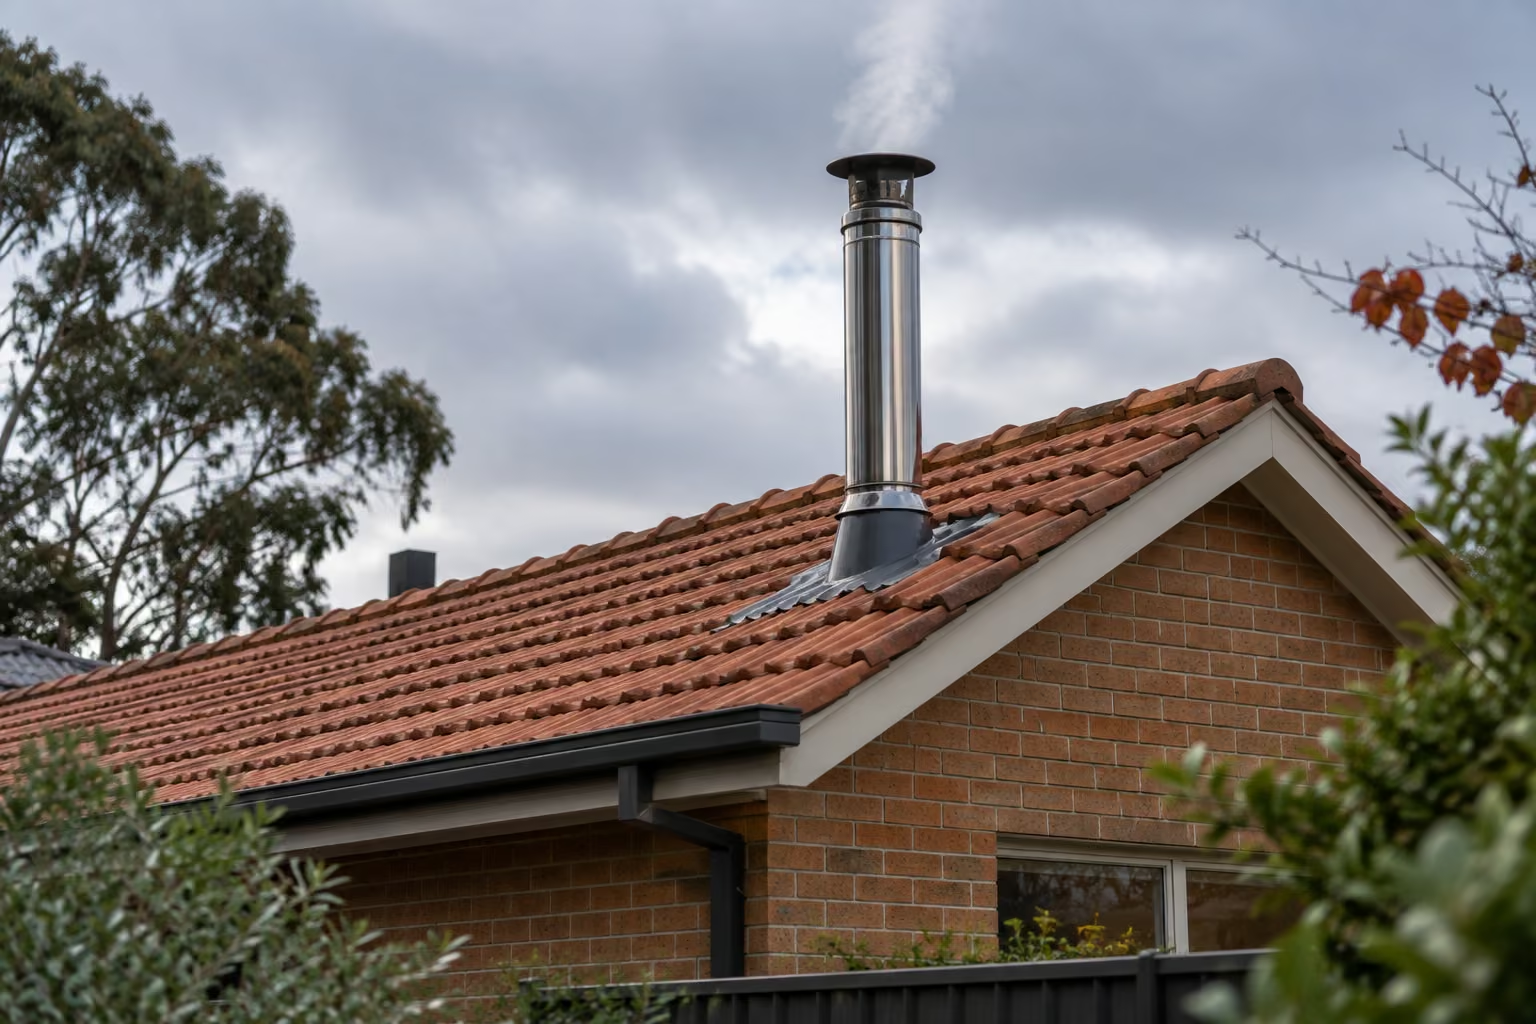
Stand well back in the yard or across the street where you can see the whole roof line. Look at where the cowl (the cap on top of the flue) sits compared with the ridge. If the flue comes out below the ridge and the top of the cowl isn't clearly above it, that's worth a closer look. Take a photo with the zoom from a couple of angles. Don't get on the roof. The pitch, the tiles and the hot flue make it a bad place to be, and the roof flashing is part of the installer's work anyway.
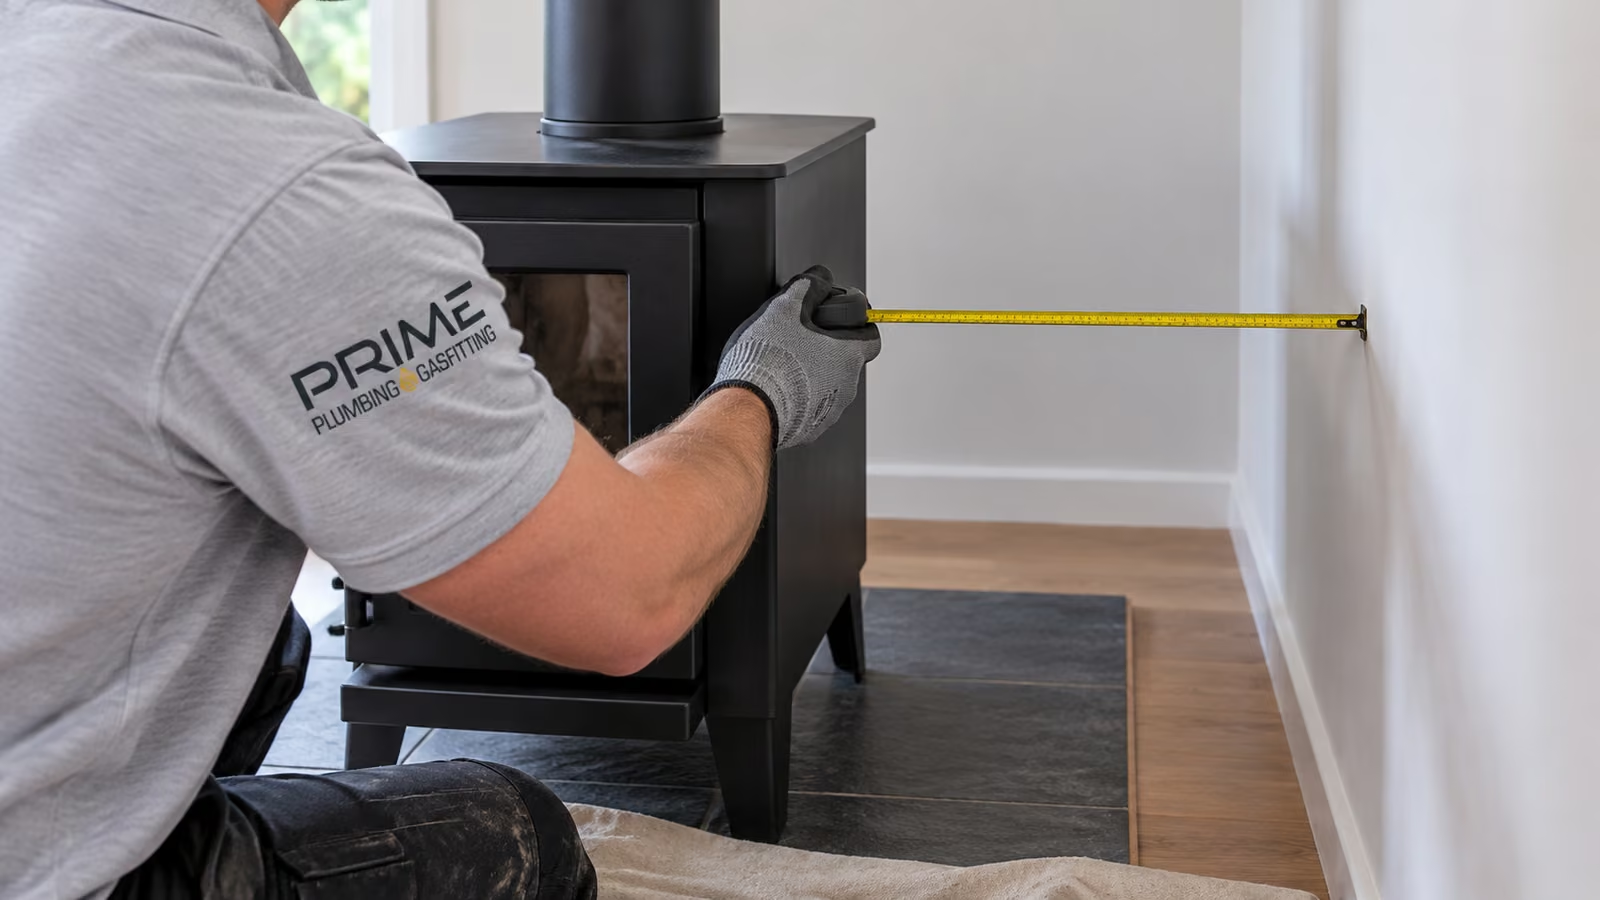
A wood heater radiates a lot of heat sideways and backwards, not just out the front. Timber framing behind plasterboard can char slowly over years, sometimes without much showing on the surface, which is why the clearance figures are strict.
Under AS/NZS 2918, the clearances for a particular heater are worked out by testing that heater. The results go into its installation instructions, normally as a diagram showing the minimum gap to a side wall, the rear wall, a corner, and the ceiling, and what changes if shielding is fitted. Those numbers are the ones your installer works to.
The building code has its own default for a freestanding heater: at least 1.2 m from any wall that isn't masonry, or a heat shield (fire resistance level of at least 60/60/60, or masonry at least 90 mm thick). That's one reason older installs often have a brick wall behind them. For a heater going in today, the figures in its installation instructions are the ones that count.
Shielding lets a heater sit closer to a wall than it otherwise could, but only the shielding described in the heater's instructions or the code counts. A sheet of steel screwed to the plaster, or tiles stuck straight onto plasterboard, isn't shielding unless the instructions say it is. The practice note warns against modifying a heater or adding components to it, and AS/NZS 2918 cautions against mixing appliance or flue parts from different sources.
Where the flue passes through the ceiling, roof space and roof, it runs inside a casing that is part of the flue kit. The casing keeps the hot inner flue the required distance from timber, insulation and roofing. For a heater going into an existing fireplace, the NCC's insert rule asks for a double skin flue with a 50 mm clearance between the outer flue and the materials around it.
Floor protection (the hearth) is the other half of the clearance picture. The size of the floor protector comes from the heater's installation instructions and AS/NZS 2918, so your installer works to the figure for your model.
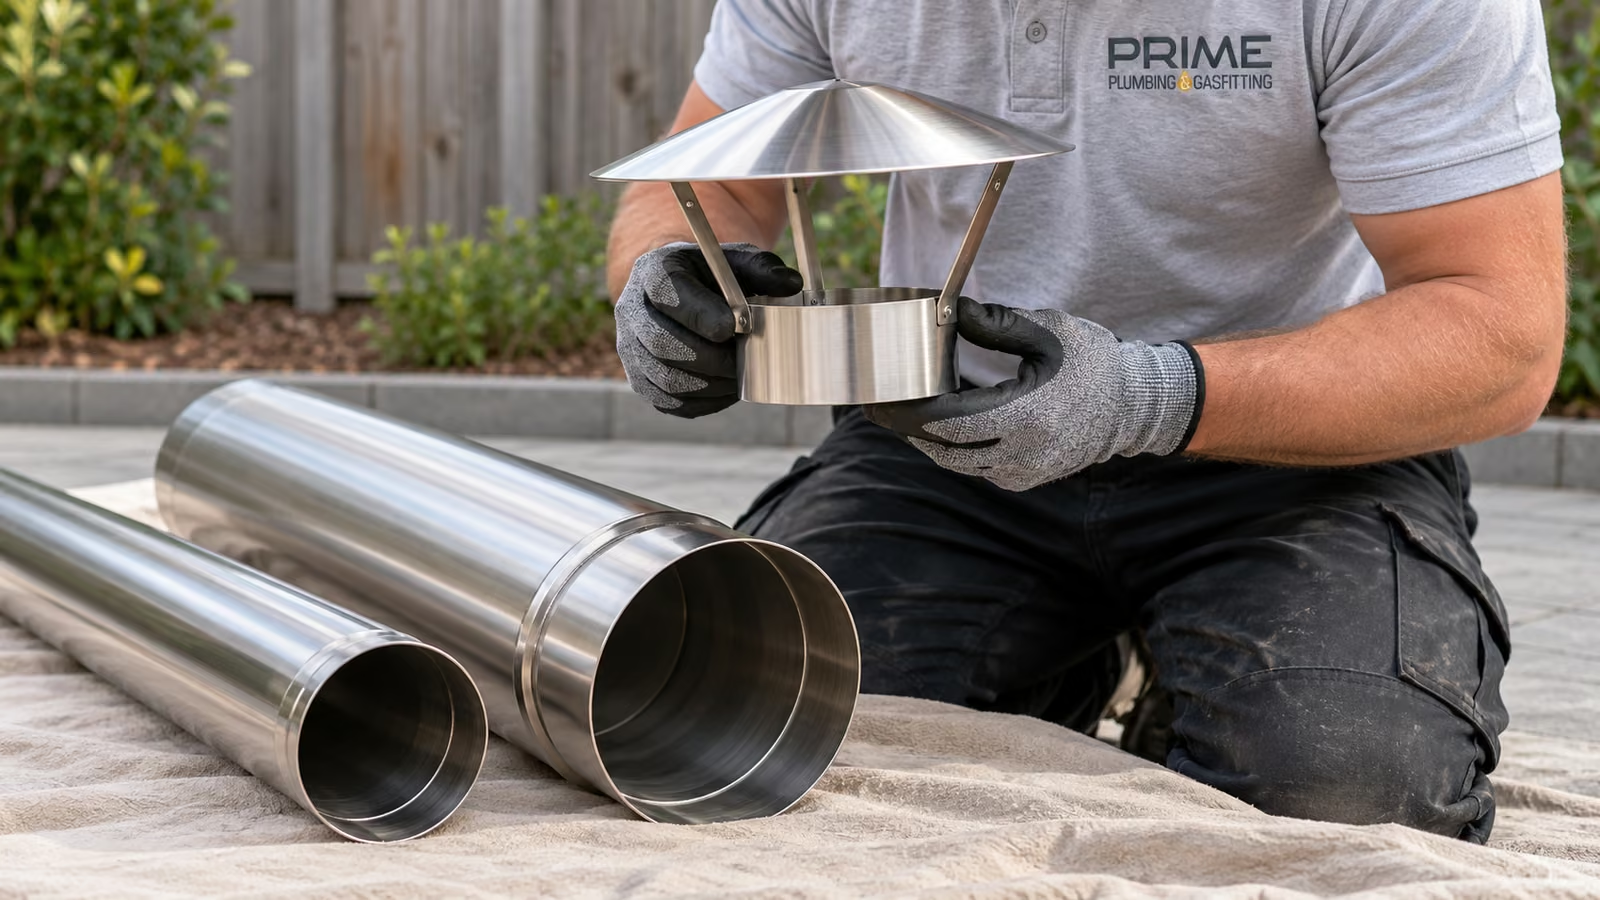
A wood heater flue isn't a length of pipe from the hardware shop. It's a kit: the inner flue, the outer casing, the ceiling and roof fittings, and the cowl. It's tested to go with the heater. The heater's instructions say which flue system to use and how it is put together. Swapping in parts from somewhere else, or cutting the flue to a different height than the instructions allow, can leave you with an install that no longer matches what was tested.
The practice note is clear on where the flue has to finish:
Overhanging branches are a fire risk at the top of a flue too. The BPC's wood heater guidance says to keep combustible materials, including tree branches, well clear of flues.
In Victoria, the roof sheeting and flashing needed for the heater's flue are part of the mechanical services work. The person installing the heater handles the flue's own penetration and flashing as part of that job. It's done to suit the flue, not as general roof work.
The practice note lists the usual ways to get a flue drawing properly, and it names extending the flue into undisturbed airflow as the most important and most successful one. The others are a flue sized correctly for the heater, an outside air supply to the heater, a flue that isn't overly cooled, a suitable cowl, and dealing with whatever pulls air out of the house, such as exhaust fans, with relief ventilation.
Wet or green wood makes any of this worse. If the heater only smokes with certain loads of wood, read our firewood guide before you blame the flue.
| What you notice | What it may point to | What to do |
|---|---|---|
| Smoke coming into the room on lighting or on windy days | Flue too low or in turbulent air, an exhaust fan pulling air, a cold or undersized flue, or a blockage | Stop using it until the flue and install have been checked |
| The cowl finishes below or level with the roof ridge nearby | The flue may be short of the AS/NZS 2918 height | Photograph it from the ground and have it measured |
| Blistered paint, darkened timber or cracked plaster near the heater or flue | Clearance or shielding not right for this heater | Stop using it and get it checked |
| Cracked glass, door or firebricks, or a rusted or split flue | The practice note says cracked and broken components may make the installation unsafe | Stop using it and get it repaired |
| Branches over or near the flue | A fire risk from embers | Have the branches cut well back |
| No conformance plate and no paperwork | Unknown heater and unknown install | Have the install inspected before next winter |
| Smoke smell when the heater is not running | Downdraught, or a flue that needs a clean | See the maintenance guide, then book a check |
| You can safely | Leave to a plumber licensed in mechanical services |
|---|---|
| Find the conformance plate and the installation instructions | Installing, moving or replacing a heater or flue |
| Measure from the heater to the walls and furniture | Fitting or changing heat shields, the flue casing or the cowl |
| Look at the flue from the ground and take photos | Anything on the roof, including the flue flashing |
| Keep the space around the heater and the flue clear | Putting a flue into an existing chimney |
| Burn only dry, seasoned wood | Diagnosing and fixing smoke coming back into the room |
| Find your compliance certificate | Issuing a compliance certificate for the work |
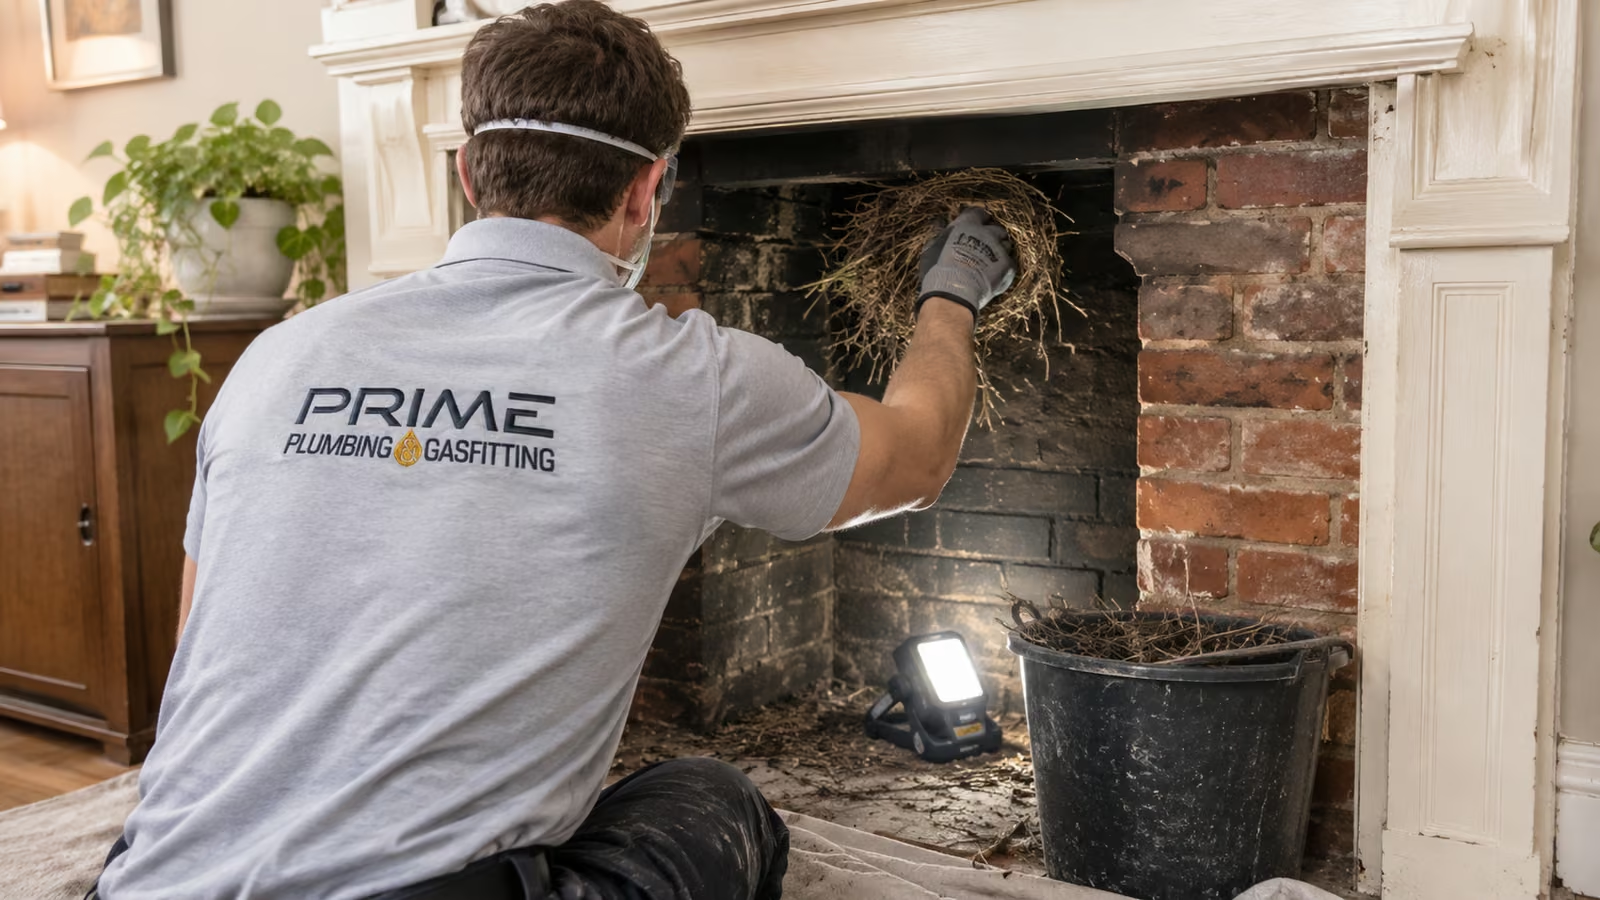
Plenty of Melbourne homes have an old brick fireplace, and putting a modern heater into it is a common job. The chimney isn't used as the flue any more. A new flue runs up inside it, and there are specific rules for doing that.
The Mulgrave existing chimney write-up covers the install steps for this kind of job.
The practice note puts it plainly: only people registered or licensed in mechanical services work can legally install a solid fuel heater. The BPC also has a restricted class just for solid fuel heaters, which covers putting them in and commissioning them, along with the roof and wall flashings for their flues. It isn't homeowner work, and it isn't something a general handyman can sign off. Our guide on what plumbing you can do yourself sets out where the line sits for other jobs around the house.
Before anyone starts, ask for their BPC licence or registration number and look it up on the BPC's online licence search. Check that the classes listed include mechanical services work or the solid fuel heater class. A licensed practitioner can issue a compliance certificate, and for a new install you should get one when the job is finished.
In Victoria, installing a wood or solid fuel heater is generally exempt from needing a building permit. Schedule 3 of the Building Regulations 2018 lists it as exempt, with a note that it is plumbing work that a licensed plumber has to do. A planning permit can still apply on a heritage overlay where the flue changes the look of the roof, and structural work such as building a new chimney or hearth wall can need a building permit. If you're unsure, ask your council.
Keep the compliance certificate and the heater's manual with your house papers. After a fire or smoke damage claim, an insurer may ask for proof the heater was installed by someone licensed to do it. When you sell, the buyer's side may ask about recent work. A certificate answers both questions quickly. If you've bought a house with a heater and no paperwork, it's worth having the install checked before you rely on it through a winter.
A second-hand heater still needs its conformance plate, still has to be installed to AS/NZS 2918 with the right flue kit, and must not have been modified. The practice note gives examples of modifications to avoid: changing the heater to burn other fuels, tampering with the air controls, or adding parts such as water jackets. If the plate is missing or the manual can't be found, talk to the installer before you buy it.
If you're buying a new heater or replacing an old one, check these before you book:
Our wood heater installation page covers freestanding and insert installs. Once it's in, the wood heater maintenance guide covers sweeping the flue and keeping creosote down. The BPC recommends having a wood heater and flue serviced each year by a plumber registered or licensed in mechanical services.
Stand back in the yard and compare the top of the cowl with the roof ridge. As a rough guide, a flue within 3 m of the ridge should finish a good 600 mm or more above it, and one further away should still clear the roof it comes through by a metre. Those minimums come from AS/NZS 2918 (the full list is in the height section above). If yours looks short, take photos and have it measured. Don't get on the roof to check.
No. The flue, its casing and the roof flashing are all part of the solid fuel heater install, which is mechanical services plumbing work. Only someone registered or licensed in that class can legally do it, and the compliance certificate is for that licensed work. See when you can do your own plumbing work for the jobs that are fine to do yourself.
Usually not for the heater itself. The Building Regulations 2018 exempt installing a wood or solid fuel household heater from a building permit, because it's plumbing work done by a licensed plumber. A heritage overlay, or building work around the heater such as a new chimney, is different, so check with your council if either applies.
It depends on the policy, so check with your insurer. If you ever claim for fire or smoke damage, the insurer may want to know how and by whom the heater was installed. A compliance certificate from the licensed plumber, kept with the heater's instructions in your house papers, answers that quickly. A buyer's conveyancer may ask for the same paperwork when you sell.
Often the flue finishes too low and catches gusts coming off the roof, a rangehood or bathroom fan is drawing air out of the house, the flue is cold or too small, or something is partly blocking it. Wet wood makes it worse. Open a window, turn off exhaust fans and let the fire die down. Smoke coming back in can carry carbon monoxide, so leave the heater off until a licensed plumber has looked at the flue and the install.
Only if it still has its conformance plate and hasn't been modified, and it still goes in to AS/NZS 2918 with the maker's flue kit. Get the installer to look at it before you buy.
If you're having an existing heater checked, or planning a new one, have these ready:

Planning a wood heater, or worried about the one you've got? Call Prime Plumbing & Gasfitting on 0475 407 670. Hours are Mon-Fri 7-5, Sat 8-1. Prime Plumbing & Gasfitting installs wood heaters across Melbourne's east and south-east, and you can check your suburb on the service area page. It helps to know the heater's make and model, whether it's freestanding or going into an existing fireplace, and whether the house is single or double storey.