Wood Heater Flue Rules in Victoria: Height, Clearances and Certificates
Wood heater flue rules and regulations in Victoria: how high the flue must finish, wall clearances, old chimneys, who can…


A toilet leaking onto the floor is worth sorting out quickly, even when it's only a small puddle. In most cases the water starts in one of a handful of places, and you can work out which one with a dry towel, some toilet paper and a few minutes. This guide covers water that ends up outside the bowl: on the floor, down the back of the pan or around the base.
Quick answer: If water is spreading, turn the isolating tap behind the toilet clockwise until it stops. Dry everything, then dab dry toilet paper on each joint and see which one gets wet first. Water at the base after a flush suggests a failed pan collar or a cracked pan, so stop using that toilet. Even beading all over a cold cistern is most likely condensation.
Water spreading, or coming through a ceiling? Call 0475 407 670. Mon-Fri 7-5, Sat 8-1. Check we cover your area on the service area page.
Water trickling into the bowl that never stops is a different fault, covered in why your toilet keeps running. Replacing the inlet or outlet valve inside the cistern is licensed work in Victoria. Water rising over the rim is a blockage, so go to what to do when a toilet is overflowing.
A few drops behind the pan can wait while you look for the source. Water spreading across the tiles, into carpet or through a ceiling downstairs can't.
Most toilets have a small isolating tap on the wall or floor behind or beside the pan, with a braided flexi hose running from it up to the cistern. Turn the handle clockwise until it stops. Some have a slot you turn with a coin or a flat screwdriver. Don't force a tap that won't budge, and don't grab it with pliers, because old wall taps can snap or start leaking at the spindle. Older toilets sometimes don't have one. If there isn't one, if it won't turn, or if the tap itself is leaking, turn off the main stop tap at the water meter, which is normally near the front boundary. That cuts water to the whole house, but it stops the leak being fed.
In-wall (concealed) cisterns hide the isolating tap behind the flush plate, which unclips on many models. If you can't get to it easily, use the main stop tap.
With the water off, one flush empties the cistern. That stops a drip from the cistern bolts or a cracked cistern. Skip this step if water comes out around the base when you flush, because then the flush itself is what is leaking. Use another toilet in the house until it's fixed.
Soak up the water with old towels and move mats and baskets out of the way, so you can see when new water appears. Before you clean up, photograph the puddle, the hose, the base of the pan and any marks on the ceiling below. Your insurer may ask for them.
If you have an electric bidet seat or a power point near the toilet and water has reached it, stay clear and have an electrician make it safe.
On a cold Melbourne morning, a cistern full of cold mains water can sweat like a cold drink on a warm day. Warm, moist air from a shower or a heated house hits the cold porcelain, turns to water and runs down to the floor. It can leave a decent puddle behind the pan and look a lot like a leak.
Signs it's condensation:
Signs it's a leak:
To check, dry the cistern and pan completely, run the exhaust fan or open a window, and look again an hour later. Still dry with the room aired out points to condensation.
Condensation isn't a plumbing fault, but a wet floor every winter still marks grout and timber, so better ventilation is worth sorting.
Water runs down and along, so a wet floor at the front of the pan can start at a hose at the back. Work from the wall tap down.
Timing is the giveaway. The tap, the hose and the hose nut at the inlet valve are under mains pressure all the time, so a leak there drips whether or not anyone has flushed. The cistern bolts, and the washer where the inlet valve passes through the cistern, sit below the water line, so they drip whenever the cistern is full. The cistern-to-pan seal and the pan collar only carry water during a flush, so those leaks show up right after you flush.
If the toilet paper doesn't give you a clear answer, lift the cistern lid and add a few drops of food colouring to the water in the cistern. Don't flush. If coloured water turns up on the floor while you wait, it's coming from the cistern itself, most likely the cistern bolts, the inlet valve washer where it passes through the cistern, or a crack. Then flush. If colour shows up at the pan only once you've flushed, the flush water is escaping through one of the two seals covered further down. Clear water on the floor while the cistern water is coloured points to the tap, the hose or condensation. Colour in the bowl rather than on the floor is the running-toilet fault linked at the top. Wipe up coloured water straight away so it doesn't stain the grout.
Can't see any water but the bill has jumped? Our guide on how to find a water leak in your house covers the water meter check.
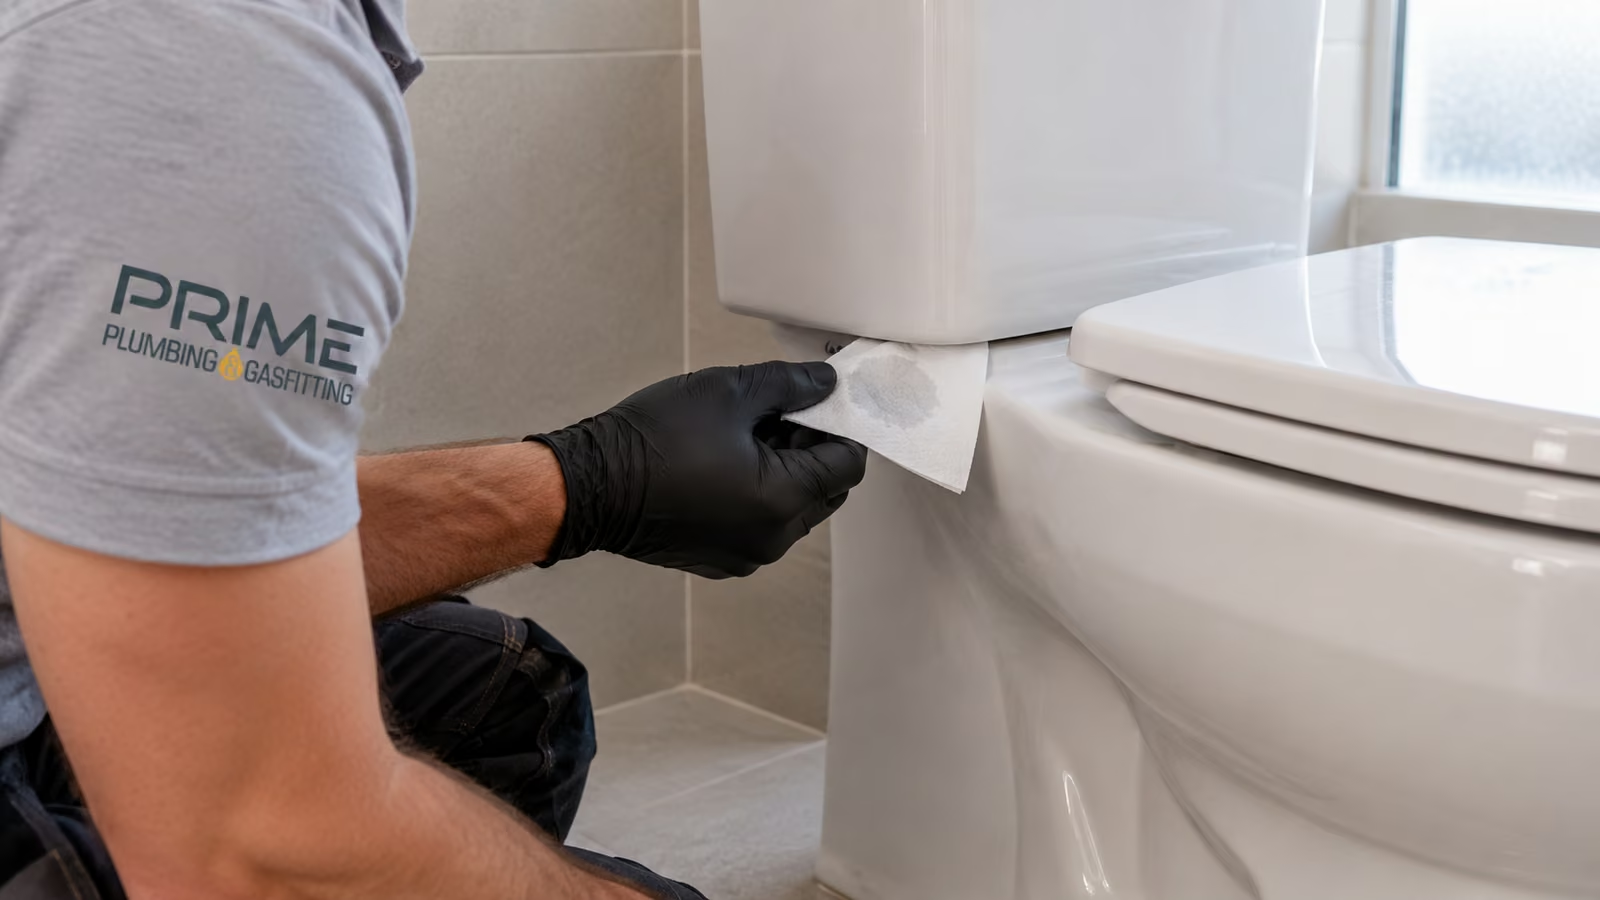
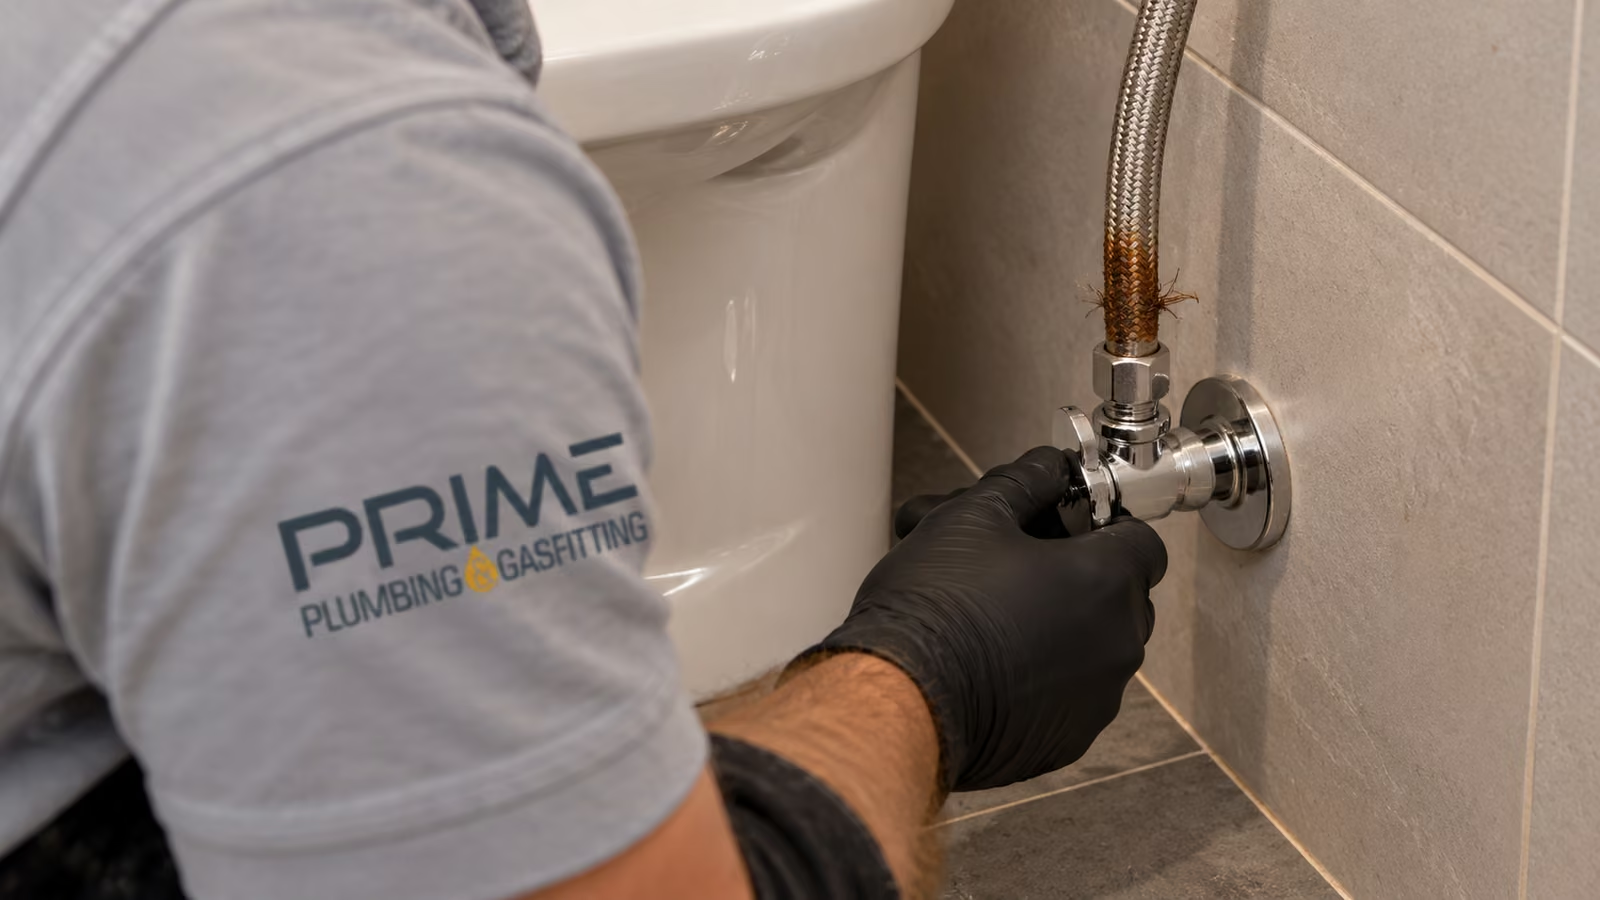
These three sit where the water comes in. The tap and hose are under mains pressure day and night, which is why they matter even when the drip is small.
A slow drip from any of these is a repair, not a reason for a new toilet. The hose gets replaced with a new WaterMark certified one, the tap gets a new washer or gets replaced, and the inlet valve gets a new washer or a new valve. Replacing the hose or the tap, and any work on the inlet valve, is licensed work in Victoria.
| Where and when you see water | Most likely cause | Typical fix |
|---|---|---|
| Drip at the wall tap or either hose nut, all the time | A worn tap washer or O-ring, a perished hose washer or a failing hose | New hose, or a new tap washer or O-ring |
| Rusty, frayed or bulging hose braiding | The hose is near the end of its life | Replace the hose now, before it bursts |
| Drip under the cistern whenever it is full | Perished cistern bolt washers, or the inlet valve washer | New washers or a new inlet valve |
| Water down the back of the pan after a flush | The cistern-to-pan seal, or the flush pipe seal on a wall cistern | New seal |
| Water around the base after a flush | The pan collar, a cracked pan or a loose pan | New pan collar and re-bed the pan, or a new pan if it is cracked |
| Damp wall or skirting near an in-wall cistern | A leak inside the concealed cistern | Repair through the access opening |
| Whole cistern beaded evenly on a cold day | Condensation | Better ventilation. Not a plumbing fault |
| Water trickling into the bowl, not onto the floor | A different fault | See the toilet keeps running guide |
| Safe to do yourself | Licensed plumber only |
|---|---|
| Turn off the isolating tap, or the main stop tap at the meter | Replacing a flexi hose or the isolating tap |
| Replace the washer or O-ring in a standard jumper-type isolating tap | Repairs to a quarter-turn or ceramic disc tap |
| Dry everything and do the tissue and food colouring checks | Replacing the inlet valve or its washer |
| Flush once to empty the cistern, if the base stays dry on a flush | Tightening or replacing cistern bolts and the cistern-to-pan seal |
| Soak up the water, move things clear and air out the room | Lifting the pan, replacing the pan collar and re-bedding the pan |
| Photograph the leak, the hose and any floor or ceiling damage | Replacing a cracked pan or cistern, and repairs inside an in-wall cistern |
| Avoid this | What goes wrong |
|---|---|
| Keep tightening the cistern bolts or a dripping nut | The porcelain can crack and plastic nuts can split with little warning, and a drip turns into a flood. |
| Wrap tape around a weeping or rusty flexi hose | Tape does nothing for a hose that is failing inside the braid, and it can still burst. |
| Keep using a toilet that leaks at the base on a flush | Every flush puts more dirty water under the pan and into the floor. |
| Force a seized isolating tap with pliers | Old taps can snap off at the wall. Use the main stop tap instead. |
If the floor near the toilet feels soft, or tiles around the pan have moved, mention it when you ring. It changes what the plumber checks once the pan is off.
How the cistern joins the pan decides where it can leak.
Most modern toilets are close-coupled: the cistern sits directly on the back of the pan. Two bolts with rubber washers hold it down, and a thick rubber seal (often called the donut) sits between the cistern outlet and the pan.
The fix is to isolate the water, empty the cistern, lift it off, fit a new seal and new bolt washers, then refit it and test it. Bolts done up unevenly or too hard are a common way to crack a cistern or the back of a pan, and porcelain gives no warning first.
Where the cistern is mounted on the wall with a short flush pipe down to the pan, the rubber cone where the pipe meets the pan can perish and leak on each flush. It needs a new cone, and sometimes a new flush pipe.
With the cistern hidden inside the wall, a leak shows up as damp at the bottom of the wall, swollen skirting, or water at the base of a wall-hung pan. Repairs are done through the access opening behind the flush plate, and that part is a plumber's job.
A hairline crack can weep slowly for months before anyone notices. If water seeps out low down on the cistern where there is no fitting, look closely for a fine line in the glaze. A cracked cistern can't be repaired. Some models still have matching cisterns available, and others mean a new suite.
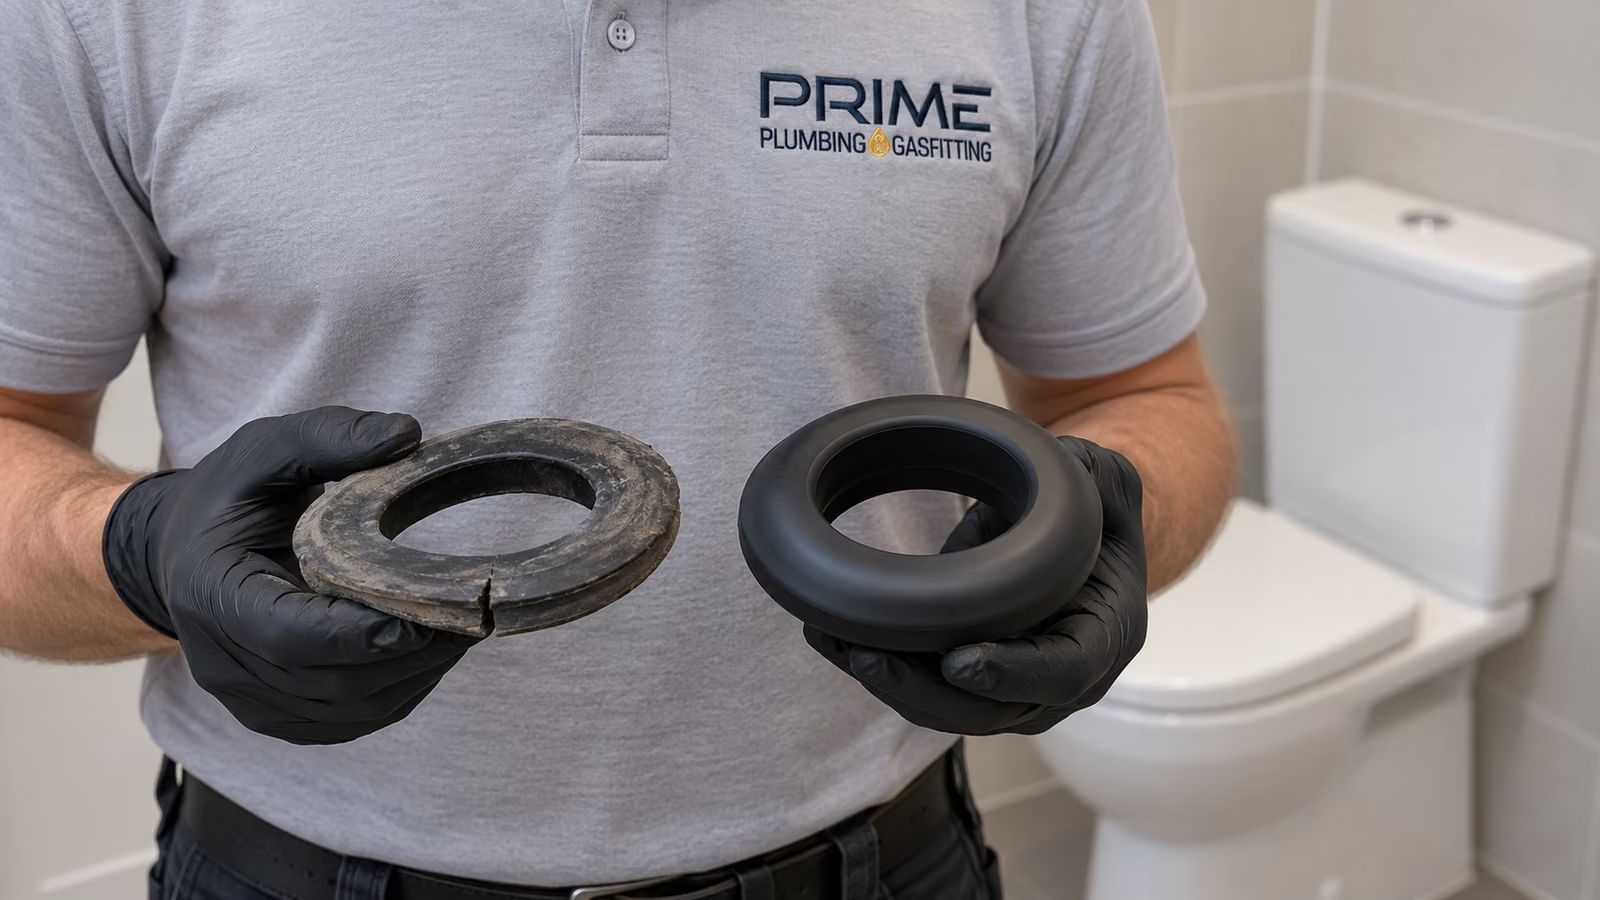
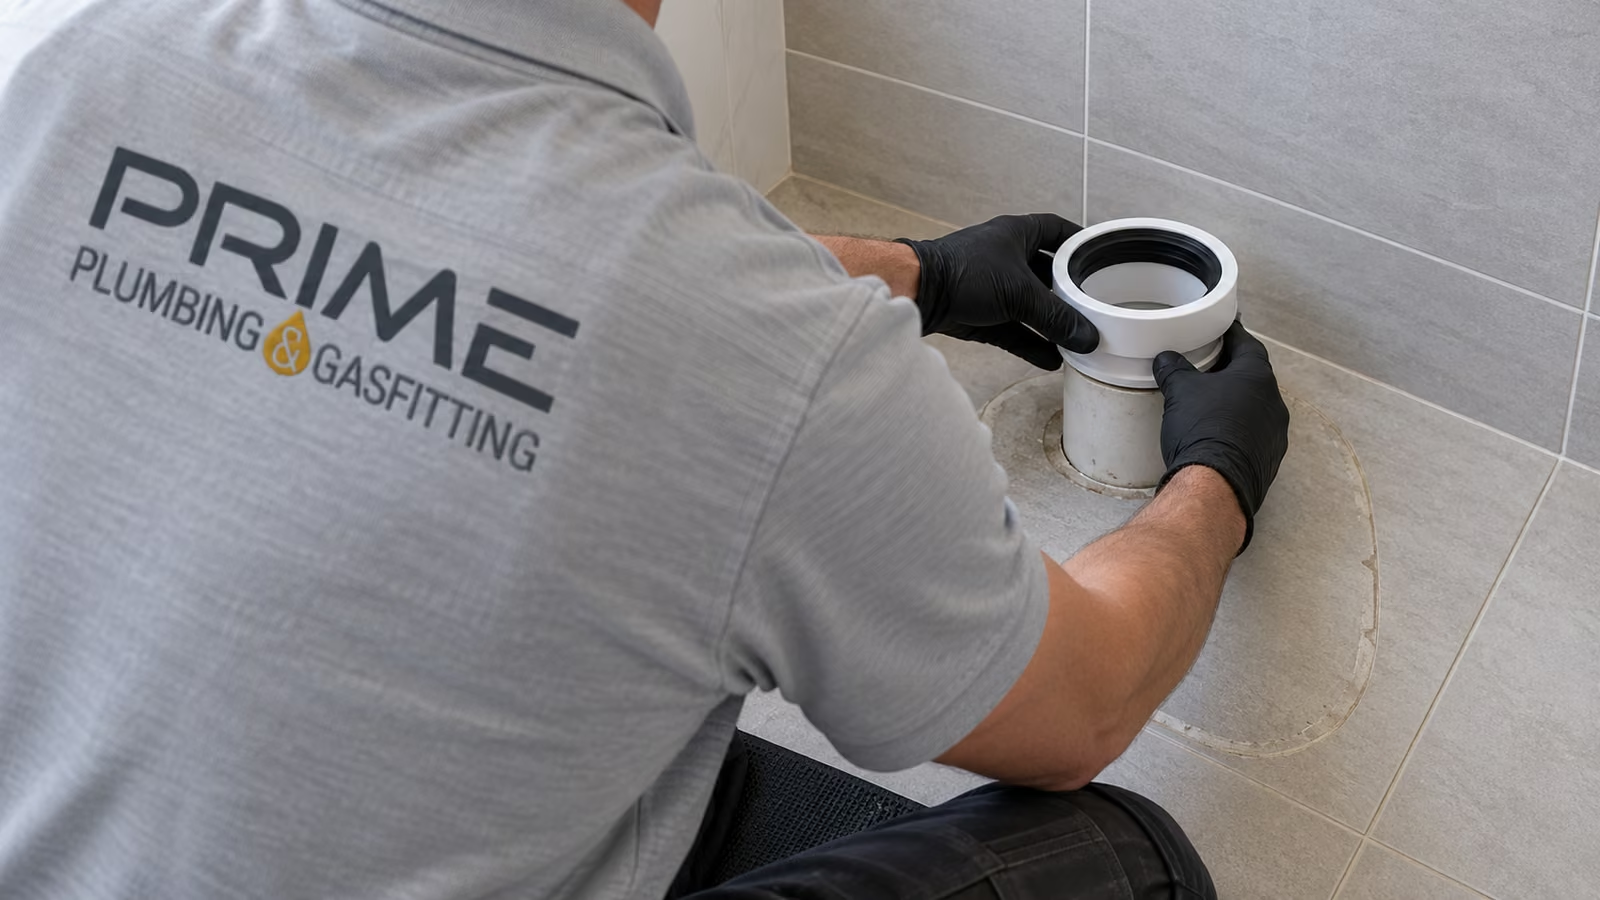
A toilet leaking at the base after a flush, with the hose, tap and cistern all dry, most likely has a failed pan collar. That's the rubber or plastic connector that joins the outlet at the back of the pan to the sewer pipe in the floor or the wall. When it splits, perishes or gets pulled out of line, some of every flush escapes under the pan.
Other things that put water at the base on a flush:
Water from a pan collar is waste water from the flush, not clean water. It soaks into grout, under tiles and into a timber subfloor, and it does it out of sight. Signs it has been going on for a while: dark or crumbling grout around the pan, tiles that sound hollow or move, a soft spot in the floor, a musty or sewer smell in the room, or a stain on the ceiling under an upstairs toilet. Until it's fixed, don't use that toilet if there's another one in the house, and wear gloves and use a disinfectant to clean up.
Replacing a pan collar means isolating the water, emptying the cistern and pan, lifting the pan off the floor, cleaning up the outlet and the pipe, fitting a new collar, then re-bedding the pan, fixing it back down and test flushing. It's sanitary plumbing work, which needs a licensed plumber in Victoria. Plumbing licences are issued by the Building and Plumbing Commission (BPC, formerly the VBA).
A licensed plumber starts the way you did, by finding where the water starts, and then fixes that part:
You get a Compliance Certificate for licensed work that needs one. To book a repair or a new suite, see our leaking toilet repairs page.
Yes, if the water is only at a hose nut or the inlet valve and the hose isn't rusty or bulging. Turn the tap on long enough to refill the cistern, flush, then turn it off again, with a towel underneath. A trickle behind the pan when you flush is most often the cistern-to-pan seal. That's clean cistern water, so it's less urgent, but keep a towel behind the pan and use another toilet if you have one. Water at the base from the pan collar or a cracked pan is different: it's waste water going under the floor, so don't use that toilet at all.
Then treat that puddle as dirty. It's flush water that has been through the bowl, which puts the pan collar or a cracked pan at the top of the list. Gloves on, disinfectant for the clean-up, and keep that toilet out of use until the pan has been lifted and checked. If the room smells but the floor stays dry, that's a separate fault and still worth having looked at.
No. The bead around the base of a pan keeps the join neat and helps hold the pan steady. It isn't what keeps the water in. If the pan collar is leaking, the water still gets out, and silicone hides it so the floor soaks it up instead. Fixing the collar means lifting the pan, which is licensed work in Victoria.
Often it isn't the bottom at all. Water runs down from the hose, the tap or the underside of the cistern and pools at the base, so check those first. If they stay dry and the puddle only appears on a flush, the fault is at the pan itself, and the tissue test above will show which joint.
Ring your insurer and ask, because cover varies. Many policies treat sudden damage, like a burst hose, differently from damage that built up slowly from a leak that was left. Take photos before you clean up, and keep the plumber's invoice or report showing what failed.
In most cases, no. Hoses, taps, washers, seals and pan collars can all be replaced on their own. A new toilet makes sense when the pan or cistern is cracked, parts for that model are no longer made, or you were planning a new one anyway. A licensed plumber can tell you which one you're dealing with.
A few things that make the visit go smoothly:

Still leaking, or water around the base? Call Prime Plumbing & Gasfitting on 0475 407 670. Hours are Mon-Fri 7-5, Sat 8-1. Prime Plumbing & Gasfitting works across Melbourne's east and south-east, and you can check your suburb on the service area page. It helps to say where the water shows up and when (all the time, or only after a flush), and to send a photo of the toilet and the hose.
Related plumbing topics: